Terminal Server
Windows Terminal Server allow you to work on a remote system and have a full Windows working environment. So, you can use software installed on the terminal server without installing it on your personal system.
The IT Services department maintains two Windows Terminal Server:
- "tamworth.astrophysik.aip.de" for the instiute in general
- "mizar.verwaltung.aip.de" for the needs of the institute adminstration
To access the server, you need an user account in the specific Windows domain (i.e. "astrophysik" or "verwaltung").
Create a connection to the Terminal Server
You can access the terminal server via the Remote Desktop Protokoll (RDP). Please configure the connection as follows and use "tamworth.astrophysik.aip.de" and "astrophysik" or "mizar.verwaltung.aip.de" und "verwaltung" as computer and domain part of the user name.
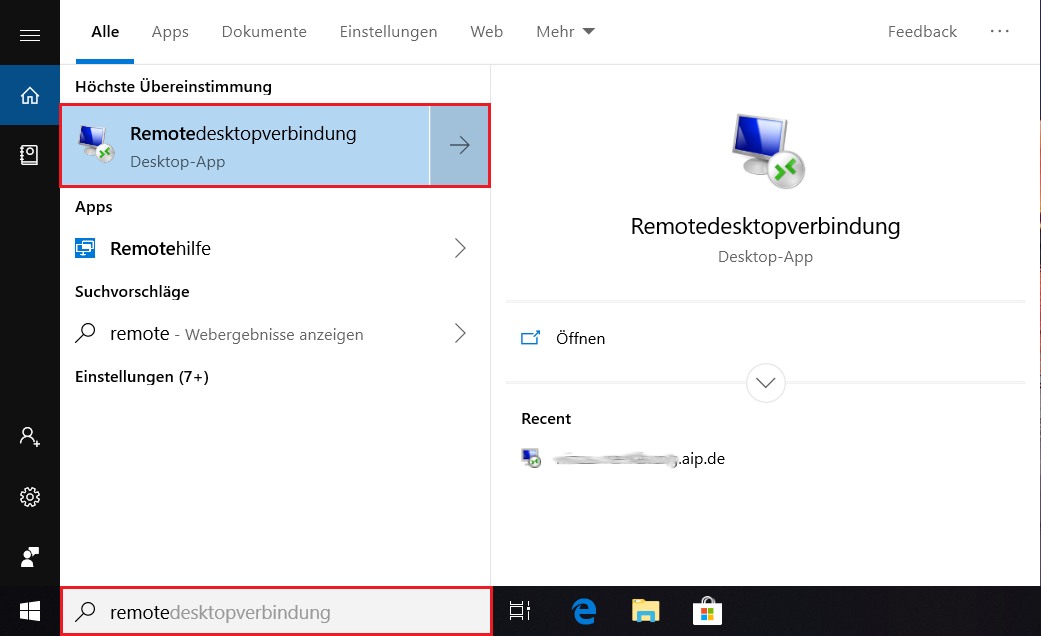
Please open the remote desktop client on your computer. Enter "Remote" into the search field of the start menu for this.
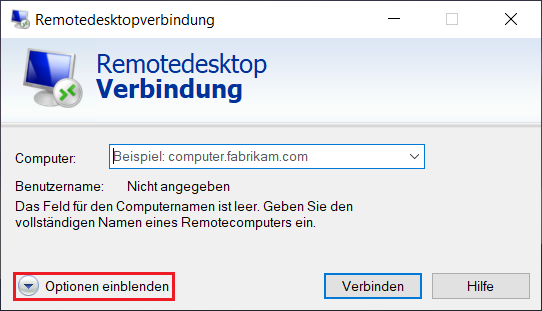
As soon the remote desktop client has opened you can establish the connection directly by entering the FQDN (Full qualified domain name -> The complete name of the computer) and clicking on "Connect". You will be asked for your account credentials afterwards. If you want to do further configuration and also save the settings for the connection please click on "Show Options" and proceed with step 3.
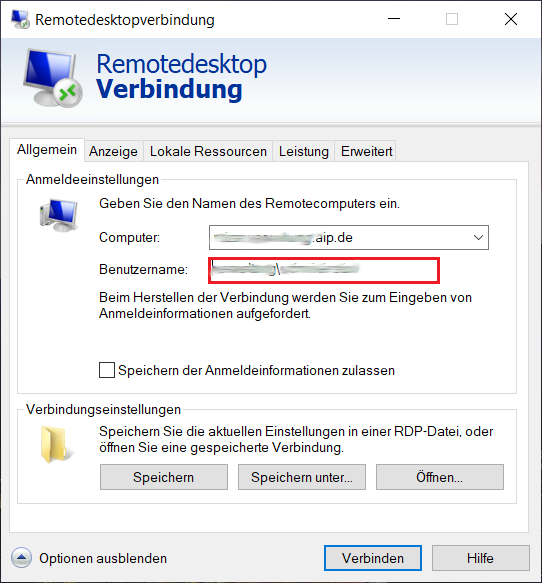
If you connect to a computer that is part of a windows domain you normally need to give your username in the form "Domain\user name", e.g. "astrophysik\username".
In the now displayed options you can also configure your user name into the connection settings, so that you do not have to type it everytime you establish the connection. Therefore enter your username in the form "Domain\user name" in the field "User name", e.g. "astrophysik\username.
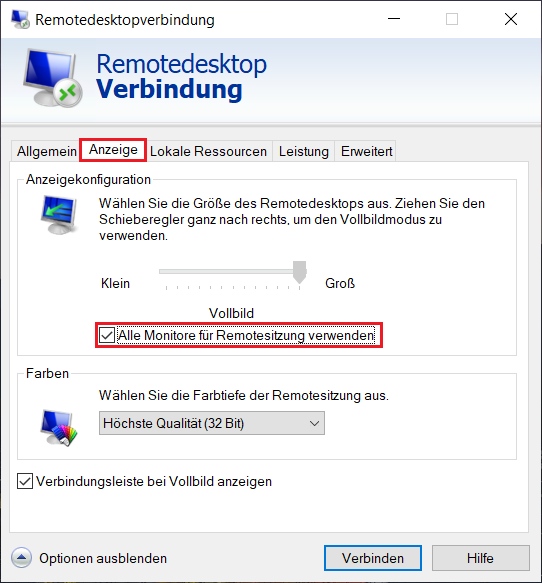
In the tab "Display" you can configure display settings like the resolution and the color quality. If you activate the tick at "Use all my monitors for the remote session" you can use multiple monitors for the remote desktop session, if you have multiple monitors connected to your local computer.
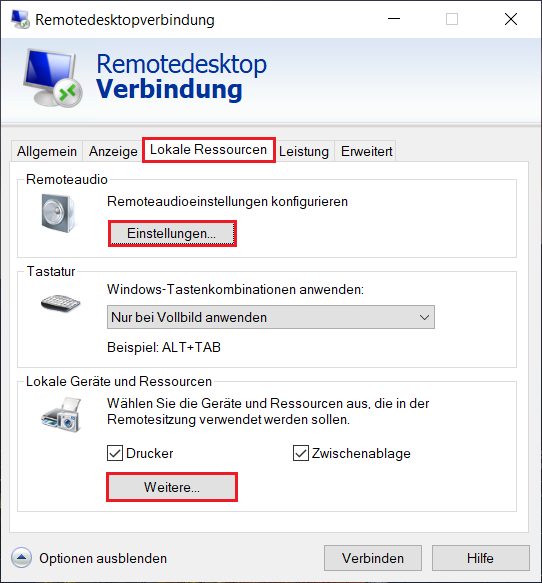
In the tab "Local Resources" you can configure local devices like microphones, harddrives and usb-sticks that are plugged into your local computer, so that you can use them in the remote desktop session and directly access them from the remote computer.
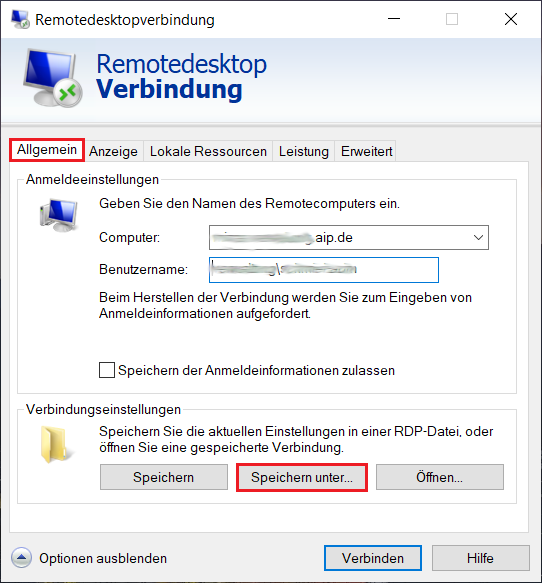
If you save your connection settings in a remote desktop file you can start the preconfigured connection by simply double clicking the file. Please return to the tab "General" in order to save the settings and click on "Save As...". Now you can select the prefered location fo the configuration file.